
I’m not going to lie – I find creating websites really fun! I have limited artistic talent, but I find that this is kind of like a “paint by numbers” project or a model airplane (anyone remember those?) or even a jigsaw puzzle. Because there are so many templates and easy-to-follow instructions in all of the choices for the Web Design Exploration this week, I feel like it’s hard to go wrong. Except of course, if you don’t have any actual content to add in where it says, “Lorem ipsum dolor sit amet, consectetur adipisicing elit.” But that comes later, after you’ve had all the fun of making it look good! After all, looking good is half the battle, right? But I digress…
I chose Weebly to work with because I like the name – it’s so close to “wobbly“, which I often feel when I try to balance writing these posts and completing the other assignments with a crazy summer travel schedule. Again, I digress…sorry about that. OK, here are the steps that Weebly took me through this to create a website for innovative health communication
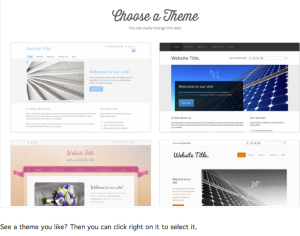
- Select a Layout or “Theme” – Weebly boasts over a hundred themes to choose from, and you can alter the colors, fonts and just about everything else once you select your basic layout.
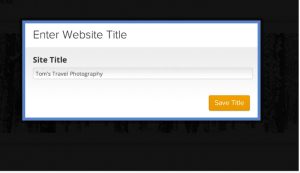
- Name the Website – this step is pretty self-explanatory.You can even pick a temporary title and, like most things Weebly, change it later.
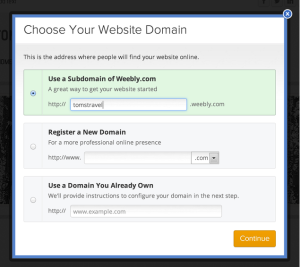
- Choose the Website’s Domain – the next step is to create an address (or domain) so that your site can be published online and found by others. Weebly suggests that the easiest thing for a beginner to do is to temporarily select a free subdomain of weebly.com until you find an appropriate and available domain name.
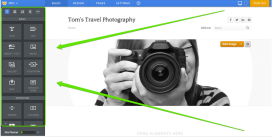
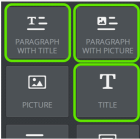
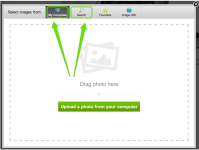
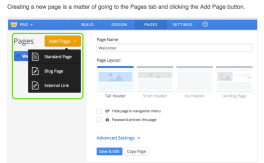
- Add Elements Like Text and Pictures to the Website – there are icons and a simple layout for the site builder that make it easy to add pages, text and photos. After getting the basics of adding text, photos and pages, Weebly offers simple instructions about: changing themes, fonts and headers; adding a blog; adding links, and other changes that can make the site more appealing.

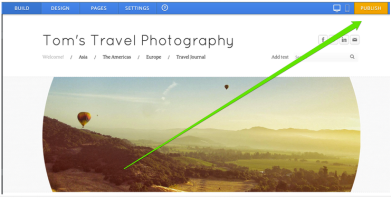
- Publish Your Website! Publishing your website to the internet with Weebly is simply a matter of clicking on the “Publish” button as shown here:


This will generate a message telling you whether the site was successfully published: 
That’s it! Hope you all had as much fun as I did this week playing around with Weebly or whatever web design tool you selected!

I agree with you, creating websites is kinda fun! Im now thinking of what else I can create a website for. I really loved the themes available on Weebly. I found them creative and interactive.
I chose Weebly for my website too! I think blog is way better than the Weebly tutorial! Thank you for sharing.
Great tutorial especially since I spent less time on weebly and more on google sites. And I totally remember paint by numbers!